
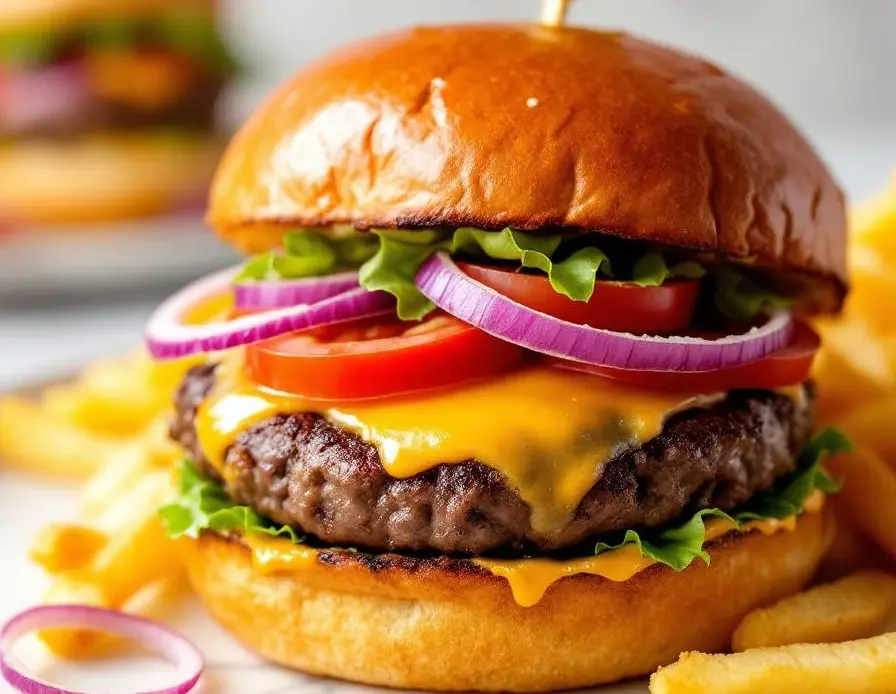
Getting started with a smash burger means dealing with hot, oily patties that sizzle and spit as you press them flat on a hot skillet or griddle. The sound of the meat hitting the metal and the immediate crackle of the crust forming is the first sign you’re doing it right.
You’ll need to work quickly to shape and smash each patty, then flip it once the edges are crispy and deep brown. It’s all about that rapid, intense contact—no messing around, or you’ll lose the crust and end up with a soggy mess.
The satisfying sizzle and crackle as the smashed beef hits the hot skillet, creating a crispy edge and a caramelized crust.
What goes into this dish
- Ground beef: I stick with 80/20 for that juicy, flavorful punch. If you want leaner, go 90/10, but don’t expect much melt-in-your-mouth texture.
- Burger buns: Soft, slightly sweet buns hold up to all that juice and crispy bits. Skip if you prefer a crustier roll or go gluten-free for a different chew.
- Cheese slices: American cheese melts into that gooey, salty blanket — skip if you want sharp cheddar or pepper jack for a spicy kick.
- Onions: Thinly sliced white or yellow onions add a punch of sharpness and crunch. Caramelize for sweetness, or skip if onions aren’t your thing.
- Pickles: Crisp, briny slices add acidity and crunch. Use bread-and-butter if you prefer a sweeter tang, or skip for a purer meat-and-cheese bite.
- Oil for cooking: A high-smoke point oil like canola or vegetable keeps the crust crispy and prevents sticking. Butter adds flavor but burns faster—use sparingly.
- Salt and pepper: Basic but essential. Don’t skimp—season the meat generously to enhance every juicy bite.
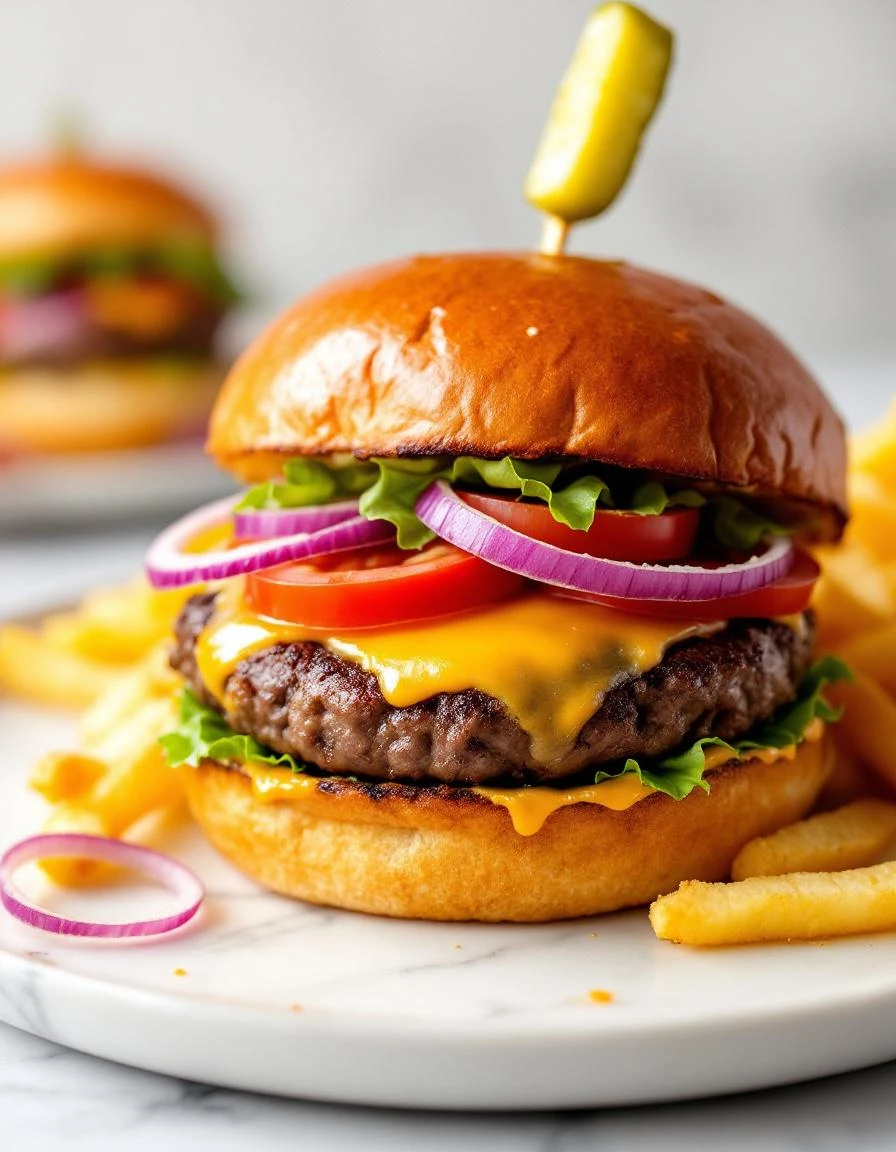
Classic Smash Burger
Ingredients
Equipment
Method
- Divide the ground beef into 4 equal portions and gently form each into a loose ball, keeping it cold and firm.
- Preheat your skillet over medium-high heat until it’s hot and shimmering, with a faint smoke, and add a tablespoon of oil to coat the surface.
- Place each beef ball onto the hot skillet and immediately press down firmly with a spatula to flatten into a thin patty, about 1/4 inch thick. You should hear a loud sizzle as the meat contacts the hot surface.
- Season the top of each patty generously with salt and pepper, then cook for about 2-3 minutes until the edges turn deep brown and crispy.
- Using your spatula, carefully flip each patty and cook for another 1-2 minutes until the underside is crispy and deep brown, and cheese slices are added on top if using. Cover briefly to melt the cheese if desired.
- While the patties cook, lightly toast the buns face-down in the skillet until golden brown, about 1 minute.
- Remove the cooked patties and toasted buns from the skillet. Spread condiments or toppings on the buns if desired.
- Assemble the burger by placing a crispy patty on the bottom bun, then layer with sliced onions, pickles, and additional toppings of your choice before topping with the top bun.
- Serve immediately while the crust is crispy and the cheese is gooey, with plenty of the savory aroma filling the air.
Common mistakes and how to fix them
- FORGOT to preheat the skillet: Always give it time to get hot so the burger crisps up immediately.
- DUMPED too much oil: Use just enough to coat the pan; excess makes patties greasy and splattery.
- OVER-TORCHED the meat: Flatten quickly and press down for even contact; don’t hold the spatula too long.
- MISSED flipping at the right time: Wait for a deep brown crust and crispy edges before flipping.
Make-Ahead and Storage Tips
- Form the beef patties ahead and keep them covered in the fridge for up to 24 hours; this helps the meat stay firm and ready to smash.
- Toast and assemble buns in advance; store in an airtight container for up to a day to keep them soft but not soggy.
- Prepare toppings like sliced onions, pickles, and condiments ahead; keep in separate containers in the fridge for up to 2 days.
- Freeze uncooked patties for up to a month; thaw in the fridge overnight before cooking to maintain juiciness and texture.
- Reheat assembled burgers quickly in a hot skillet or oven, aiming for crispy edges and melted cheese, but beware of overcooking the bun or toppings.
FAQs
1. Should I use cold or warm beef?
Use cold, fresh ground beef with about 20% fat for a juicy, crispy crust. Warm meat won’t smash as well and can get greasy.
2. How hot should my pan be?
A hot skillet, ideally cast iron, makes that satisfying crackle. You want the surface to sizzle loudly as you smash.
3. How much pressure when smashing?
Press down firmly with a spatula or burger press, then leave it alone for a minute. That crisp crust takes shape quickly.
4. When do I know it’s ready to flip?
Don’t flip too early. Wait until the edges are dark brown and crispy, then give it a gentle flip for that caramelized finish.
5. How do I reheat a burger without losing crunch?
Reheat in a hot skillet or oven. Aim for that first crispy edge to reappear and the cheese to melt softly, filling the air with savory aroma.
Hi, I’m Madison Lane, the cook, recipe creator, and heart behind this kitchen. Food has been part of my life for as long as I can remember. Some of my earliest memories are of standing beside my dad while he cooked, watching him move comfortably around the kitchen, tasting sauces, and explaining why patience mattered just as much as seasoning.
