
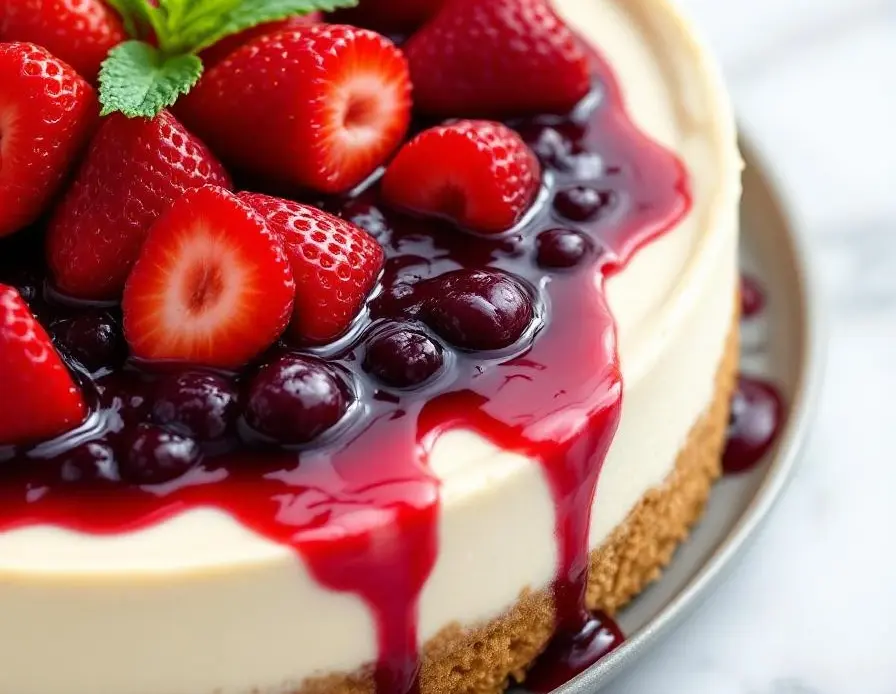
Making a no-bake cheesecake means dealing with the mess of crushed cookies and melting butter, then pressing it all into a pan without the oven’s heat. It’s about feeling the crust firm up under your fingertips as it cools in the fridge.
Filling is a quick mix of softened cream cheese, sugar, and whipped cream that you fold together, then pour over the crust. The real work is waiting for it to set, which takes a few hours in the fridge, not the oven.
The gentle squish of the cream cheese filling as you press it into the crust, feeling the cool, velvety texture give way under your fingertips.
Key Ingredients and Substitutions
- Cream cheese: I go for softened, full-fat cream cheese—smooths out easily, giving a rich, velvety bite. Skip low-fat if you want that lush texture that melts on your tongue.
- Graham cracker crumbs: I like a fine, buttery crumb that presses into the crust without crumbling too much; you can swap in digestive biscuits or vanilla wafers for a different flavor profile.
- Butter: Melted butter binds the crumbs well, making a sturdy, flavorful base. Use salted or unsalted depending on your preference, but don’t skip the butter—it’s the glue.
- Sugar: Just a touch to enhance sweetness—powdered or granulated, both work. If you want less sweetness, cut back; for a more caramelized crust, add a splash of honey or maple syrup.
- Lemon juice: Brightens the filling with a zing that cuts through the richness. Swap with lime or a splash of vinegar for a different citrus note or skip for a milder taste.
- Whipped cream: Folded in to lighten the filling, giving it that airy, cloud-like texture. Use heavy cream, and beat it until soft peaks form—no shortcuts if you want fluff.
- Vanilla extract: Adds depth and warmth; a splash is enough. You could swap with almond or citrus zest for a different aromatic note, or skip if you prefer a purer cheesecake flavor.
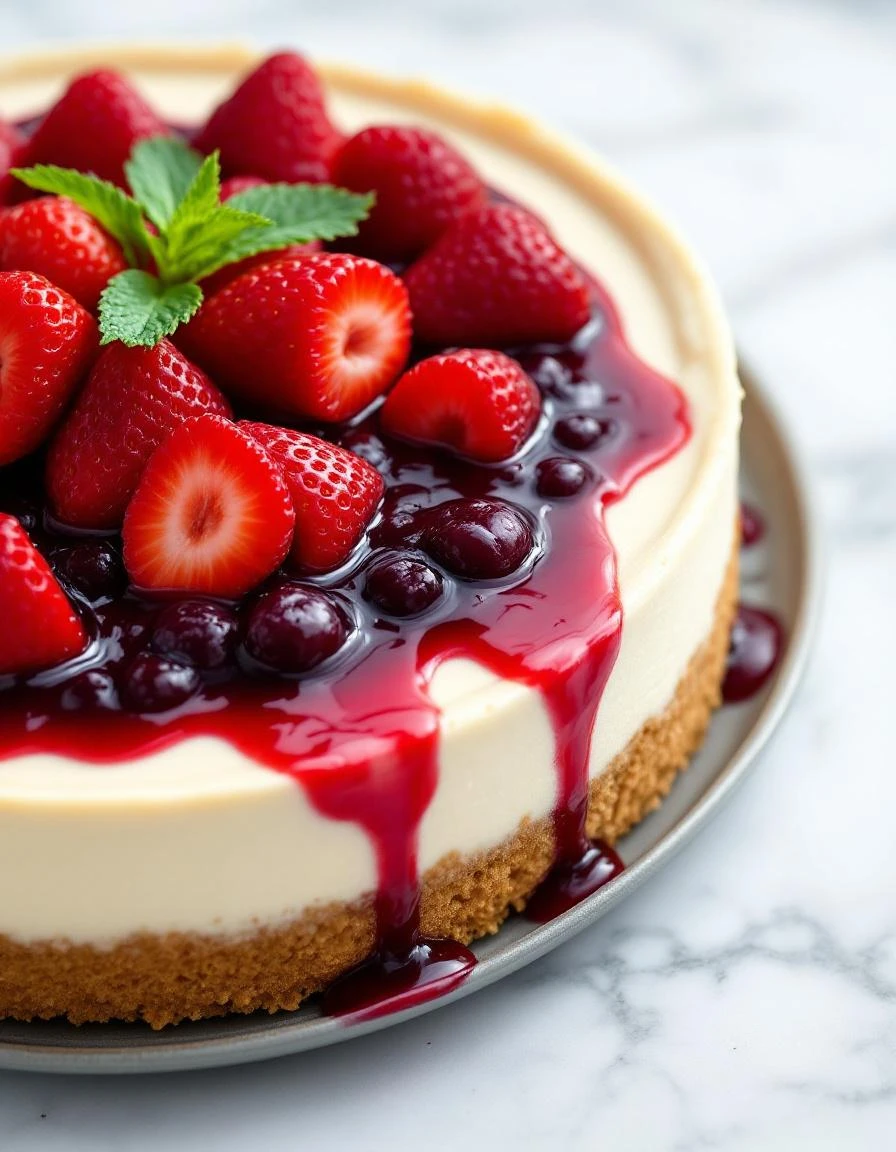
No-Bake Cheesecake
Ingredients
Equipment
Method
- Place the graham cracker crumbs in a mixing bowl, then pour in the melted butter. Mix with a spatula until the crumbs are evenly coated and resemble damp sand.
- Press the crumb mixture firmly into the bottom of a 9-inch springform pan, creating an even crust. Chill the crust in the refrigerator for at least 30 minutes to help it firm up.
- In a large bowl, beat the softened cream cheese with an electric mixer or whisk until smooth and fluffy, about 2-3 minutes. Add the sugar and continue mixing until fully incorporated.
- Stir in the lemon juice and vanilla extract, mixing until well combined. The mixture should be creamy and smooth.
- In a separate bowl, whip the cold heavy cream on high speed until soft peaks form, about 2-3 minutes. Be careful not to overwhip.
- Gently fold the whipped cream into the cream cheese mixture using a spatula, until no streaks remain and the filling is light and airy.
- Pour the creamy filling over the chilled crust, smoothing the top with a spatula or the back of a spoon. Cover with plastic wrap and refrigerate for at least 4 hours, or overnight, until set.
- Once fully chilled and firm, run a warm knife around the edge of the pan before releasing the springform to ensure clean slices.
- Slice the cheesecake into wedges, serve chilled, and enjoy the smooth, velvety texture with a crisp base.
Common Mistakes and How to Fix Them
- FORGOT to chill the crust before filling? Chill it for at least 30 minutes to prevent sliding.
- DUMPED the filling into a warm crust? Chill the assembled cheesecake for 4 hours to set properly.
- OVER-TORCHED the crust while baking? Keep a close eye for golden edges, then cool before filling.
- MISTAKENLY used low-fat cream cheese? Full-fat gives that rich, velvety texture you want.
Make-Ahead and Storage Tips
- Prepare the crust mixture and press it into your pan a day before. It firms up nicely in the fridge overnight.
- Make the filling up to 24 hours ahead. Keep it covered in the fridge to maintain its fresh, creamy texture.
- The cheesecake benefits from a day in the fridge to fully set and develop flavor. It tastes best after at least 4 hours, preferably overnight.
- You can freeze the assembled cheesecake for up to 2 months. Wrap it tightly to prevent freezer burn and preserve flavor.
- For a brighter flavor, add a squeeze of lemon just before serving. The citrus note will be more pronounced after a day or two.
- Reheat slices gently in the microwave for a few seconds if you prefer them slightly warmer—watch for melting or splitting.
FAQs
1. Can I use low-fat cream cheese?
Use softened cream cheese so it blends smoothly, avoiding lumps that feel gritty against your tongue.
2. Why is my crust sliding apart?
Chill the crust before pouring in the filling; it helps prevent sliding and keeps everything firm and fresh.
3. My cheesecake is sinking in the middle?
Make sure the filling is not warm when pouring; a warm mixture can cause the crust to soften and sag.
4. How long should I chill it?
Let the cheesecake set in the fridge for at least 4 hours, preferably overnight, for a firm, sliceable texture.
5. How do I cut clean slices?
Slice with a hot, damp knife to get clean cuts, and listen for the gentle squish of the filling giving way.

Hi, I’m Madison Lane, the cook, recipe creator, and heart behind this kitchen. Food has been part of my life for as long as I can remember. Some of my earliest memories are of standing beside my dad while he cooked, watching him move comfortably around the kitchen, tasting sauces, and explaining why patience mattered just as much as seasoning.
