
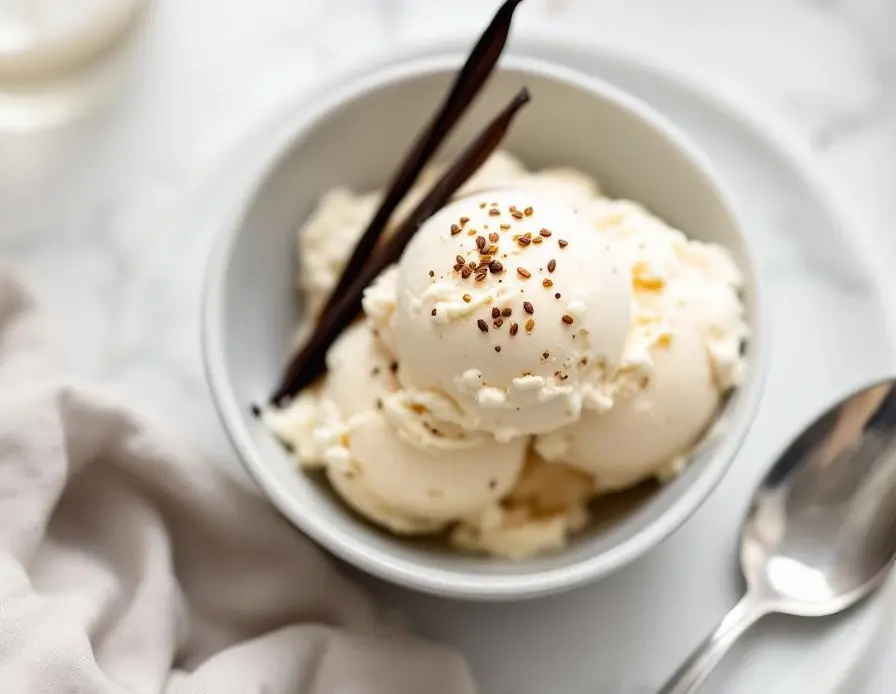
Making vanilla bean ice cream means dealing with a sticky, creamy custard that spills over the edges of your pot if you’re not careful. You’ll spend time whisking and stirring, feeling the heat and the thickening milk cling to your spoon.
Scraping out the tiny black seeds from the vanilla bean is a messy, satisfying job—those little specs stick to everything but release that fragrant, floral smell as you go. Chilling the mixture takes patience, and then, churning it in the ice cream maker is a noisy, sticky process that leaves a layer of frosty frost on your countertop.
The tactile satisfaction of scraping out every tiny black seed from the vanilla bean, feeling the soft pulp cling to the spoon as it releases that sweet, floral aroma.
What goes into this dish
- Vanilla beans: Scraping out those tiny black seeds is a messy, tactile job — but the floral aroma they release makes it worth it. If you don’t have vanilla beans, high-quality vanilla extract can work, but the seeds add that visual and textural pop.
- Heavy cream: The backbone of this ice cream, bringing richness and creaminess. If you’re out, full-fat coconut milk can substitute for a dairy-free version, but expect a slightly different, tropical note and a thinner texture.
- Whole milk: Adds balance and fluidity. Skim milk won’t give the same richness, but half-and-half can be a good compromise if you want extra creaminess without full cream.
- Sugar: Sweetens and helps with texture. Brown sugar adds a caramel note, while honey can introduce a floral sweetness, but cut back slightly for a less sugary finish.
- Egg yolks: Thicken and add custardy richness. If you’re avoiding eggs, a cornstarch slurry can help thicken, but the custard-like texture will be less pronounced.
- Salt: Just a pinch enhances the vanilla and balances the sweetness. Sea salt flakes give a subtle crunch and burst of flavor, but regular table salt works fine too.
- Optional add-ins: Chocolate chips, fruit swirls, or nuts can be stirred in after churning. Keep in mind these additions can change the texture and melting point, so add carefully.
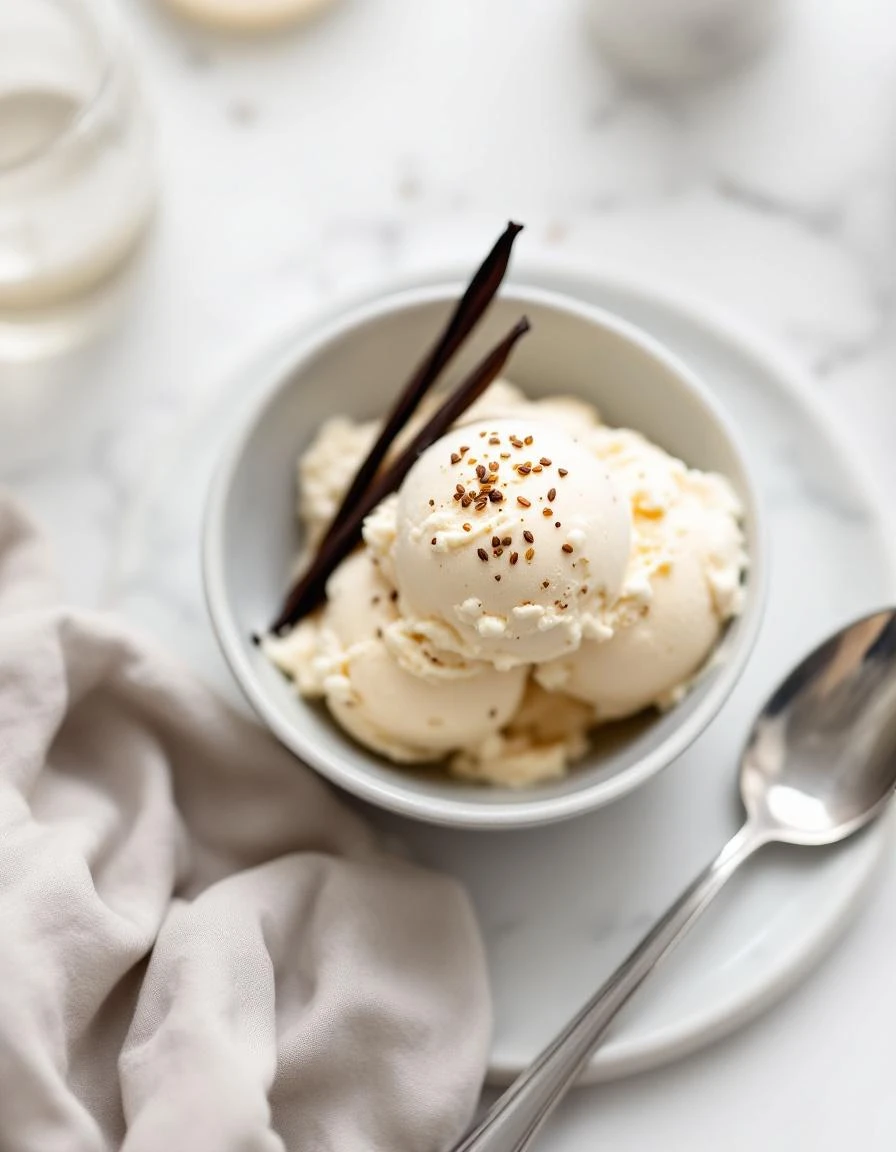
Vanilla Bean Ice Cream
Ingredients
Equipment
Method
- Combine the heavy cream, whole milk, and half of the sugar in a saucepan, then add the split vanilla beans and their seeds. Warm over medium heat, stirring gently, until the mixture is steaming and small bubbles form around the edges—avoid boiling.
- While the milk warms, whisk together the egg yolks with the remaining sugar and a pinch of salt until the mixture turns pale and slightly thickened.
- Remove the vanilla beans from the warm milk and slowly pour about half of the hot milk into the egg mixture, whisking constantly to temper the eggs.
- Pour the tempered egg mixture back into the saucepan with the remaining milk, then cook over low heat, stirring constantly, until the custard thickens enough to coat the back of a spoon—about 5-7 minutes. You will notice it becomes slightly glossy and nappe-like.
- Strain the custard through a fine-mesh sieve into a clean bowl to remove the vanilla bean remnants and ensure a smooth texture. Let it cool slightly.
- Cover the bowl with plastic wrap, pressing it directly onto the surface of the custard to prevent a skin from forming, and chill in the refrigerator for at least 4 hours or overnight until thoroughly cold.
- Once chilled, remove the vanilla bean seeds from the custard, then pour the mixture into your ice cream maker. Churn according to the manufacturer’s instructions, typically 20-25 minutes, until thick and creamy.
- Transfer the soft ice cream into a freezer-safe container, smoothing the top with a spatula. Cover tightly and freeze for at least 4 hours, until firm and scoopable.
- Before serving, let the ice cream sit at room temperature for a few minutes to soften slightly, then scoop into bowls or cones. The final texture should be velvety, with visible vanilla specks and a glossy appearance.
Common mistakes and how to fix them
- FORGOT to chill the custard properly? Freeze it longer or stir gently to restart freezing.
- DUMPED in hot milk? Always cool the custard before churning, or it’ll melt too fast.
- OVER-TORCHED the vanilla beans? Use low heat and remove promptly to avoid bitterness.
- MISSED adding salt? A pinch enhances flavor—don’t skip this tiny flavor boost.
Make-Ahead and Storage Tips
- Prepare the custard mixture a day ahead; it tastes richer after sitting overnight in the fridge.
- Chill the mixture in the refrigerator for at least 4 hours, or ideally overnight, to ensure it’s well cooled before churning.
- Freeze the churned ice cream for 4-6 hours; for a softer texture, serve after 2 hours in the freezer.
- Flavor intensifies after a day in the freezer, so if you want a more pronounced vanilla aroma, make it a day early.
- Reheat briefly in the microwave if the ice cream becomes too hard; check texture and aroma before serving.
FAQs
1. How do I get the most vanilla aroma?
The vanilla aroma is strongest when you scrape out the seeds, feeling their tiny black specks cling to your fingers and release that floral scent when pressed. It’s sensory, almost like a gentle floral explosion in your nose.
2. Why does chilling matter?
Chilling the custard until it’s ice-cold makes a big difference—it feels icy on your hand and sounds like a faint crackle as it cools, helping it churn into smooth ice cream.
3. Can I skip eggs?
Adding eggs gives the custard a silky, velvety feel that coats your tongue, with a faint eggy smell at first, turning sweet and custardy after churning.
4. How do I know when it’s ready?
The freezing process is slow but worth it—your freezer’s hum and the slight frost forming on the container tell you it’s ready. The ice cream should be firm but scoopable, with a creamy, dense texture.
5. How should I store leftovers?
Storing in an airtight container prevents freezer burn and keeps the vanilla scent vibrant. After a day, the ice cream becomes firmer, with a more intense vanilla flavor and a slight icy crunch as you scoop.

Hi, I’m Madison Lane, the cook, recipe creator, and heart behind this kitchen. Food has been part of my life for as long as I can remember. Some of my earliest memories are of standing beside my dad while he cooked, watching him move comfortably around the kitchen, tasting sauces, and explaining why patience mattered just as much as seasoning.
