There’s something about making cheese balls that feels like a little act of nostalgia, like catching a whiff of childhood in the kitchen. The crispy, golden exterior gives way to a soft, cheesy center that’s just messy enough to be satisfying. It’s the kind of dish that makes you want to gather friends around, share stories, and dip until everything’s gone.
I remember the first time I made these with my grandma, watching her hands quickly form the balls while the smell of melted cheese filled the air. It’s not fancy, but it’s honest and comforting—an imperfect, delicious reminder of simpler times. When the cheese starts to ooze out with each bite, it feels like a warm hug, especially on a chilly evening.
Focusing on the nostalgic charm of homemade cheese balls, highlighting how their crispy exterior and creamy interior evoke childhood memories and communal gatherings, making them a perfect comfort food for cozy nights.
A Cozy Twist on Classic Cheese
- Making cheese balls always takes me back to family gatherings, the messy hands, and everyone laughing around the table.
- I love how a simple cheese ball can turn a boring snack into a conversation starter, especially with a good smear of chutney.
- There’s a quiet pride in getting that perfect golden crust — it’s a small victory every time I fry them just right.
A Cozy Twist on Classic Cheese
- Making cheese balls always brings me back to lazy Sunday afternoons in my childhood, sitting on the kitchen floor with my mom. She’d roll out this simple mixture while I’d sneak tastes of the cheesy filling, already imagining the crispy exterior and gooey inside. It’s a dish rooted in both comfort and chaos — a little messy, a little nostalgic, and totally satisfying.
- The inspiration hit me when I realized how often I crave something familiar and warm, especially on cold nights when the world feels a little quieter. These cheese balls are more than just snacks; they’re a small ritual that reconnects me to those simpler, carefree days. Now, I make them with a little more finesse, but the heart of the recipe stays the same.
- heading: ‘A Cozy Twist on Classic Cheese’
Cheese Ball Trivia & History
- Cheese balls gained popularity in American snack culture during the mid-20th century, often served at parties and potlucks.
- The concept likely originated from European cheese-based appetizers, adapted to American casual gatherings with processed cheeses and crunchy coatings.
- In the 1950s and 60s, cheese balls became a symbol of homey, communal eating, often featured in church suppers and family reunions.
- Variations include adding herbs, spices, or even bacon, reflecting regional tastes and personal twists over the decades.
- Despite their playful, retro vibe, cheese balls are surprisingly versatile—perfect for everything from holiday spreads to casual game nights.
Ingredient breakdown: key components
- Cream cheese: I love the smooth, rich base it gives — use full-fat for that melt-in-your-mouth feel, but if you want lighter, try Neufchâtel, though it’s a bit less creamy.
- Cheddar cheese: Sharp cheddar adds a punch of flavor and melts beautifully; for a milder taste, swap in Monterey Jack, but beware it melts less dramatically.
- Breadcrumbs: They provide crunch and structure—panko makes a lighter, crispier coating, while regular breadcrumbs are coarser and more traditional.
- Herbs and spices: I toss in a pinch of paprika and some chopped chives for color and freshness; skip the spices if you prefer a more neutral, milder flavor.
- Optional add-ins: A dash of hot sauce or a handful of cooked bacon bits can elevate the snack, but keep in mind they alter the classic cheesy vibe with extra saltiness and smoky notes.
- Egg: Acts as a binder and helps the mixture hold together; if you’re egg-free, try a splash of milk or a bit of mayonnaise, but the texture might be a tad softer.
- Oil for frying: Use a neutral oil like vegetable or canola; for a richer flavor, try duck fat or clarified butter, which adds a subtle, savory aroma and crispness.
Spotlight on key ingredients
Cream cheese:
- I love its silky, melt-in-your-mouth texture. When softened properly, it blends smoothly, creating a creamy base that’s essential for that luscious cheese pull.
- Cheddar cheese: Sharp and gooey, it melts into a rich, flavorful layer. For a milder version, swap with Monterey Jack, but you’ll miss that punch of tang.
Breadcrumbs and seasonings:
- Breadcrumbs: They give the perfect crunch — panko makes it lighter and crispier, while regular breadcrumbs add a more traditional, hearty coating.
- Herbs and spices: Chives and paprika add color and brightness. The herbs soften in the frying, releasing a fresh, oniony aroma that lifts the flavor.
Notes for ingredient swaps
- Dairy-Free: Swap cream cheese for coconut cream or cashew cheese. It won’t be as oozy but still creamy.
- Cheddar Cheese: Use Monterey Jack or mozzarella for milder, stretchier results. Sharpness will be softer.
- Breadcrumbs: Panko gives a crunchier crust, but regular breadcrumbs work fine if you prefer a softer coating.
- Herbs and Spices: Fresh chives or parsley can be replaced with dried herbs; just use less since dried is more concentrated.
- Egg: For a binder without eggs, try a splash of milk or mayonnaise, though the texture may be softer and less crisp.
- Oil for Frying: Use vegetable oil for neutral flavor; for a richer aroma, try duck fat or clarified butter if available.
- Optional Add-ins: Hot sauce or bacon bits add flavor but can make the mixture saltier; adjust seasoning accordingly.
Equipment & Tools
- Mixing bowl: Combine ingredients evenly.
- Spoon: Portion and shape the cheese mixture.
- Small plate: Coat cheese balls with breadcrumbs.
- Frying pan: Deep fry the cheese balls evenly.
- Thermometer: Monitor oil temperature.
- Paper towels: Drain excess oil after frying.
Step-by-step guide to cheese balls
- Equipment & Tools: Gather a mixing bowl, spoon, small plate for coating, a frying pan (about 25cm diameter) with high sides, thermometer, and paper towels for draining.
- In the mixing bowl, combine 8 oz cream cheese (softened), 1 cup shredded sharp cheddar, 1/2 cup breadcrumbs, 1 teaspoon paprika, and 2 tablespoons chopped chives. Mix until well integrated, firm enough to form into balls.
- Using your hands, scoop out about 2 tablespoons of the mixture and roll it into a smooth ball, roughly 2 inches in diameter. Repeat with remaining mixture to make about 8-10 balls.
- Pour enough oil into the pan to reach a depth of about 2 inches. Heat over medium heat, aiming for 175°C (350°F). Use the thermometer to check the temperature, and adjust the heat as needed.
- While oil heats, prepare a small plate with extra breadcrumbs for coating. For each cheese ball, roll it gently in the breadcrumbs to coat evenly, pressing slightly to adhere.
- Once oil reaches temperature, carefully lower the cheese balls into the hot oil in batches, avoid overcrowding. Fry for about 2-3 minutes, turning occasionally, until golden brown and crispy.
- Check for doneness: the exterior should be deep golden, and the cheese inside should be soft and oozy when pierced. If they brown too quickly, lower the heat slightly.
- Remove with a slotted spoon and drain on paper towels. Repeat with remaining balls.
- Let the cheese balls rest for 2-3 minutes to settle, then serve warm. They’re best enjoyed fresh but can be kept in a covered container for up to 2 hours.
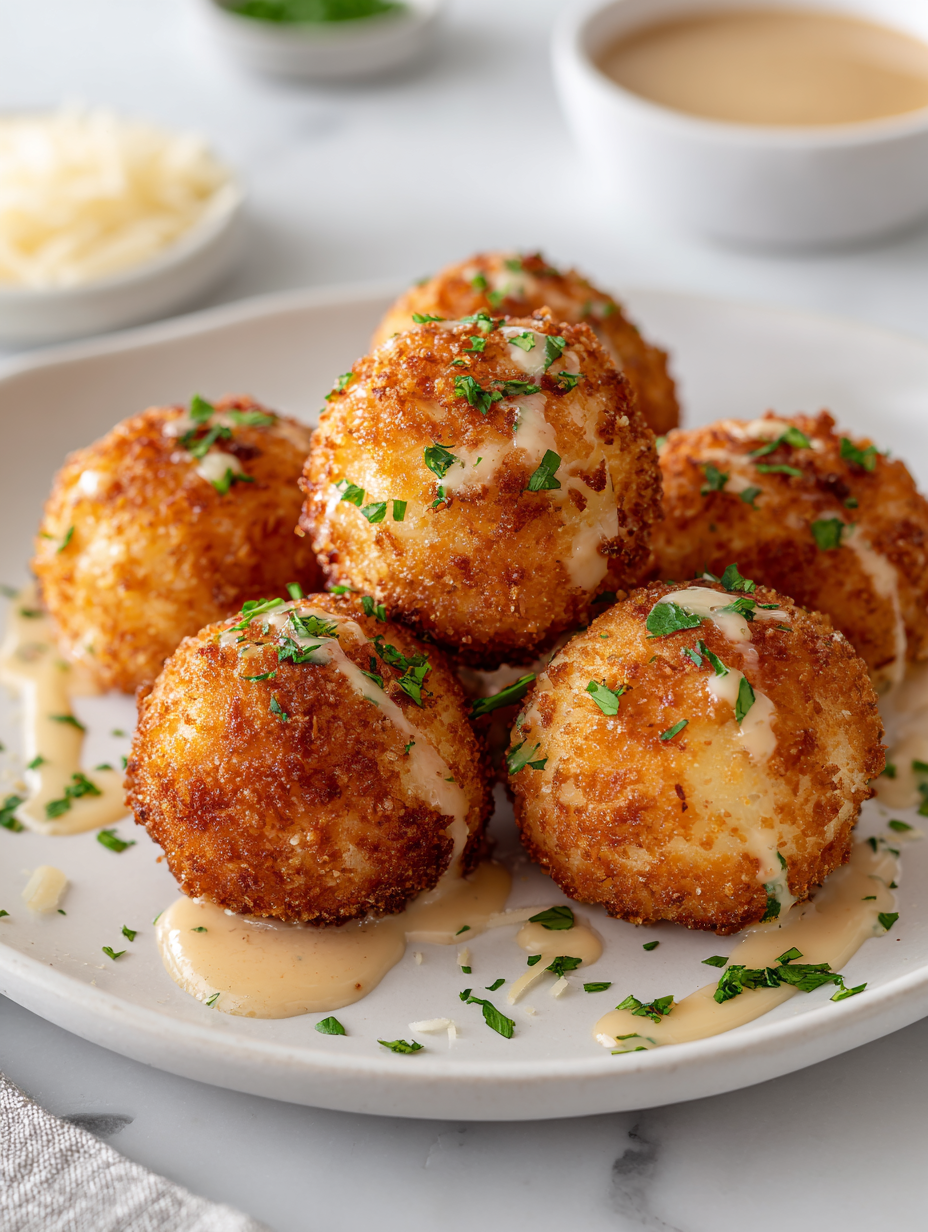
- For presentation, arrange on a platter with a side of spicy chutney or a dollop of sour cream for dipping.
Allow the cheese balls to rest briefly on paper towels, then serve immediately on a warm plate. Garnish with extra chives or paprika if desired for color and flavor contrast.
How to Know It’s Done
- Oil temperature at 175°C (350°F) for perfect crispiness.
- Golden exterior with a crackling sound when frying.
- Soft, oozy cheese when pierced, indicating doneness.
Cheese Balls
Ingredients
Equipment
Method
- Combine the softened cream cheese, shredded cheddar, paprika, and chopped chives in a mixing bowl. Mix thoroughly until the mixture is smooth, cohesive, and easy to shape.
- Use a spoon or your hands to scoop out about 2 tablespoons of the mixture. Roll it between your palms to form a firm, round ball roughly 2 inches in diameter. Repeat with remaining mixture, shaping about 8 to 10 balls.
- Pour the breadcrumbs onto a small plate. Roll each cheese ball in the breadcrumbs, pressing lightly to ensure the coating adheres evenly. Place coated balls on a tray or plate.
- Heat vegetable oil in a frying pan over medium heat until it reaches about 175°C (350°F). Use a thermometer to check the temperature for accuracy.
- Carefully lower the coated cheese balls into the hot oil in small batches, avoiding overcrowding. Fry for 2-3 minutes, turning occasionally, until they turn deep golden brown and crispy.
- Remove the fried cheese balls with a slotted spoon and drain on paper towels to remove excess oil. Repeat with remaining balls.
- Allow the cheese balls to rest for 2-3 minutes so the cheese inside can settle slightly. Serve warm with your favorite dipping sauces or chutneys.
Notes
Tips & Tricks for Perfect Cheese Balls
- Bolded mini-head: Use cold ingredients → Keeps the mixture firm and easier to shape, preventing oozing during frying.
- Bolded mini-head: Chill the formed balls → Rest in the fridge for 15 minutes to help them hold together better when frying.
- Bolded mini-head: Maintain oil temperature → Keep at 175°C (350°F) for a crispy crust without burning.
- Bolded mini-head: Don’t overcrowd the pan → Fry in small batches to ensure even cooking and prevent temperature drops.
- Bolded mini-head: Test for doneness → Look for deep golden color and a slight crackle when frying, cheese should be oozy inside.
- Bolded mini-head: Drain on paper towels → Removes excess oil, keeping the crust crisp and not greasy.
- Bolded mini-head: Serve immediately → The cheese is best warm; reheat gently in oven if needed to restore crispness.
Common mistakes and how to fix them
- FORGOT to preheat oil → Heat to 175°C (350°F) before frying.
- DUMPED mixture too early → Chill the mixture for 30 minutes if too soft.
- OVER-TORCHED the cheese balls → Lower heat if they brown too quickly.
- MISSED the resting step → Rest for 2-3 minutes for better texture and presentation.
Quick fixes and pantry swaps
- When oil shimmers and crackles, it’s ready for frying, not smoking or smoking excessively.
- Splash a bit of water if oil splatters wildly; it cools and reduces mess instantly.
- Patch a greasy crust by lowering heat or cooking a bit longer for a crisp exterior.
- DUMPED mixture too soft? Chill it for 30 minutes to firm up before shaping.
- Use pantry swap: crushed cornflakes for breadcrumbs for extra crunch and a smoky aroma.
Prep, store, and reheat tips
- You can prepare the cheese mixture up to 24 hours in advance; keep it covered in the fridge to prevent drying out. The flavors meld together better overnight, and it firms up nicely for easier shaping.
- Shape the cheese balls and coat them in breadcrumbs ahead of time. Place on a tray lined with parchment paper, cover tightly with plastic wrap, and refrigerate for up to 12 hours. They’ll be ready for frying straight from the fridge, with the coating staying intact.
- Fried cheese balls are best enjoyed warm, but if needed, you can store leftovers in an airtight container in the fridge for up to 2 days. Reheat in a hot oven (around 180°C/350°F) for 5–7 minutes until crispy and heated through, watching for the crust to shimmer and regain its crunch.
- Avoid freezing raw cheese balls, as the moisture may affect the coating’s crispness. If you must freeze cooked balls, reheat in the oven to restore texture, but expect a slightly softer crust and less ooze.
Top questions about cheese balls
1. Can I use reduced-fat cream cheese?
Use full-fat cream cheese for the best meltiness and richness. Reduced-fat versions might be too soft and won’t hold shape well.
2. Will light cream cheese work?
Yes, but it may result in a less creamy filling and slightly drier texture. Keep the mixture chilled to help it hold together.
3. How do I know when the oil is ready?
Make sure the oil is at 175°C (350°F) before frying. If it’s too cool, the cheese balls will absorb oil and become greasy.
4. Can I fry many at once?
Fry the cheese balls in small batches so they cook evenly and stay crispy. Overcrowding lowers the temperature and makes them soggy.
5. What if they burn or don’t brown?
If they brown too quickly, lower the heat slightly. If they’re not golden enough after 3 minutes, turn up the heat a bit.
6. Can I make cheese balls ahead of time?
You can prepare the mixture and shape the balls up to 24 hours ahead. Keep them covered in the fridge to prevent drying.
7. How do I reheat leftovers?
Reheat in a hot oven at 180°C (350°F) for 5–7 minutes. They’ll crisp up again and stay warm and cheesy inside.
8. Can I make these gluten-free?
For a gluten-free version, skip the breadcrumbs or use crushed gluten-free crackers. They may be softer but still tasty.
9. How can I tweak the flavor?
Adding hot sauce or bacon bits boosts flavor but increases saltiness. Adjust seasonings accordingly to balance the taste.
10. How do I know when they’re done?
When the cheese starts to ooze out, and the exterior is deep golden and crackling, they’re ready to serve.
There’s something about homemade cheese balls that keeps drawing me back—maybe it’s the crunchy exterior giving way to that warm, cheesy center. They’re perfect for casual gatherings or just a cozy night in when you want something satisfying and nostalgic.
In the end, it’s the messy, imperfect process that makes them special—frying until golden, the smell of cheese filling the air, and sharing that first bite. They remind me that sometimes, simple pleasures are the best kind of comfort, especially when shared with good friends or family.

Hi, I’m Madison Lane, the cook, recipe creator, and heart behind this kitchen. Food has been part of my life for as long as I can remember. Some of my earliest memories are of standing beside my dad while he cooked, watching him move comfortably around the kitchen, tasting sauces, and explaining why patience mattered just as much as seasoning.
