This recipe is about reclaiming childhood comfort with grown-up flavors, turning simple ingredients into a nostalgic treat that’s easy to whip up in moments of need. There’s something honest about the way the sweet coconut and rich chocolate come together without fuss, especially when you’re short on time but craving a homemade fix.
I’ve always loved how these bars feel like a quick hug — crunchy, chewy, with that glossy chocolate finish. They remind me of quiet afternoons spent in the kitchen, experimenting with what I had on hand, making something sweet that’s both satisfying and simple enough to share without any fuss.
No bake means less mess and more time to enjoy the process, or just sit back and savor the smell of melting chocolate mingling with toasted coconut. It’s a recipe that’s perfect for those moments when you want comfort food but don’t want to turn on the oven.
This recipe is about reclaiming childhood comfort with grown-up flavors, turning simple ingredients into a nostalgic treat that’s easy to whip up in moments of need.
The story behind this recipe
- This recipe came about during a lazy afternoon when I was rummaging through my pantry, looking for something sweet but quick. I remembered making similar no-bake treats as a kid, and how those simple ingredients always felt like a little secret stash of comfort. That nostalgic feeling pushed me to tweak and perfect a version I could whip up anytime and still get that familiar, cozy hit.
- One afternoon, I had a handful of shredded coconut and a block of dark chocolate melting in a double boiler — the smell transporting me back to my grandmother’s kitchen. I realized then that these bars could be a way to bring back those childhood moments, now with a grown-up twist of deep cocoa and toasted coconut.
- heading: ‘The story behind this recipe’
Ingredient breakdown: key components
- Coconut flakes: I prefer toasted for that nutty, smoky aroma that really makes these bars pop. Skip if you want a softer texture, but it’s worth the extra minutes on the skillet.
- Dark chocolate: I use a good quality 70% cocoa bar; melts smoothly and offers a rich, slightly bitter contrast to the sweet coconut. You can swap in semi-sweet, but aim for a bar that melts well and isn’t too sweet.
- Sweetened condensed milk: It’s the glue that holds everything together—sweet, sticky, and velvety. If you’re avoiding dairy, a thick coconut cream can work, but it’ll change the richness.
- Butter or coconut oil: I add just enough to help everything meld without making it greasy. Coconut oil lends a subtle tropical scent and glossy finish—skip if you want a less shiny look, but don’t skip the fat.
- Shredded coconut: I like the texture and chew it adds, but you can use finer or flaked coconut for a different bite. Fresh or dried, just make sure it’s unsweetened unless you want sweeter bars.
- Vanilla extract: A splash brightens the chocolate and coconut, giving depth. Skip if you’re out, but it’s a quick way to elevate plain ingredients.
- Sea salt: Just a pinch enhances the chocolate and balances the sweetness, especially if you use a very sweet chocolate or coconut. Don’t skip, but adjust to taste.
Spotlight on key ingredients
Sweetened condensed milk:
- Coconut flakes: I prefer toasted for that nutty, smoky aroma that really makes these bars pop. Skip if you want a softer texture, but it’s worth the extra minutes on the skillet.
- Shredded coconut: I like the texture and chew it adds, but you can use finer or flaked coconut for a different bite. Fresh or dried, just make sure it’s unsweetened unless you want sweeter bars.
- It’s the glue that holds everything together—sweet, sticky, and velvety. If you’re avoiding dairy, a thick coconut cream can work, but it’ll change the richness.
Dark chocolate:
- I use a good quality 70% cocoa bar; melts smoothly and offers a rich, slightly bitter contrast to the sweet coconut. You can swap in semi-sweet, but aim for a bar that melts well and isn’t too sweet.
- Sea salt: Just a pinch enhances the chocolate and balances the sweetness, especially if you use a very sweet chocolate or coconut. Don’t skip, but adjust to taste.
Notes for ingredient swaps
- Dairy-Free: Coconut cream instead of condensed milk offers richness without dairy, but expect a slightly less creamy texture.
- Vegan: Use coconut oil in place of butter and maple syrup instead of condensed milk for a plant-based version.
- Sweetener: Honey or agave syrup can replace condensed milk, though they will alter the sweetness and stickiness slightly.
- Chocolate: Dark chocolate with higher cocoa content adds depth; milk chocolate makes the bars sweeter and creamier.
- Coconut: Unsweetened dried shredded coconut can be swapped for toasted coconut flakes for a nuttier, crunchier bite.
- Salt: Sea salt or Himalayan pink salt can replace regular salt, adding a different mineral note to balance sweetness.
- Add-ins: Chopped nuts, dried fruit, or even a sprinkle of sea salt on top can customize texture and flavor.
Equipment & Tools
- 20cm (8-inch) square pan: Holds the mixture and shapes the bars.
- Parchment paper: Prevents sticking and makes removal easy.
- Medium bowl: Mixes dry ingredients.
- Small saucepan: Melts the wet ingredients gently.
- Spatula: Folds ingredients and presses mixture into pan.
- Sharp knife: Cuts the set bars cleanly.
- Refrigerator or freezer: Sets and firms up the bars.
Step-by-step guide to no bake bars
- Line a 20cm (8-inch) square pan with parchment paper, leaving overhang for easy removal.
- In a medium bowl, combine 1 1/2 cups (150g) shredded coconut, 1/2 cup (90g) dark chocolate chips, and 1/4 teaspoon sea salt.
- In a small saucepan over low heat (about 50°C/122°F), melt 1/4 cup (60ml) unsalted butter or coconut oil, along with 1/2 cup (120ml) sweetened condensed milk and 1 teaspoon vanilla extract. Stir until smooth and fragrant (~3-4 minutes).
- Pour the melted mixture over the dry ingredients. Use a spatula to fold everything together until evenly coated and sticky, about 2 minutes.
- Transfer the mixture into the prepared pan. Use the back of a spoon or your fingers to press it firmly into an even layer, ensuring no air pockets.
- Sprinkle additional shredded coconut or chopped nuts on top if desired, then press lightly to set. This adds texture and visual appeal.
- Place the pan in the fridge for at least 2 hours, or until the bars are firm and set. For quicker results, freeze for about 1 hour.
- Once firm, lift out the block using the parchment overhang. Cut into 12 equal squares with a sharp knife, wiping it clean between cuts.
- For best texture, store the bars in an airtight container in the fridge for up to a week, or freeze for up to a month. Serve chilled for optimal chewiness.
Chill the bars in the fridge for at least 2 hours until firm. Slice into squares and serve cold. For a glossy finish, keep refrigerated until ready to eat, then bring to room temperature for a softer bite.
How to Know It’s Done
- Chocolate is glossy and melted smoothly, with no lumps.
- Mixture is firm enough to hold shape when pressed in the pan.
- Bars are evenly cut, with clean edges and no crumbling.
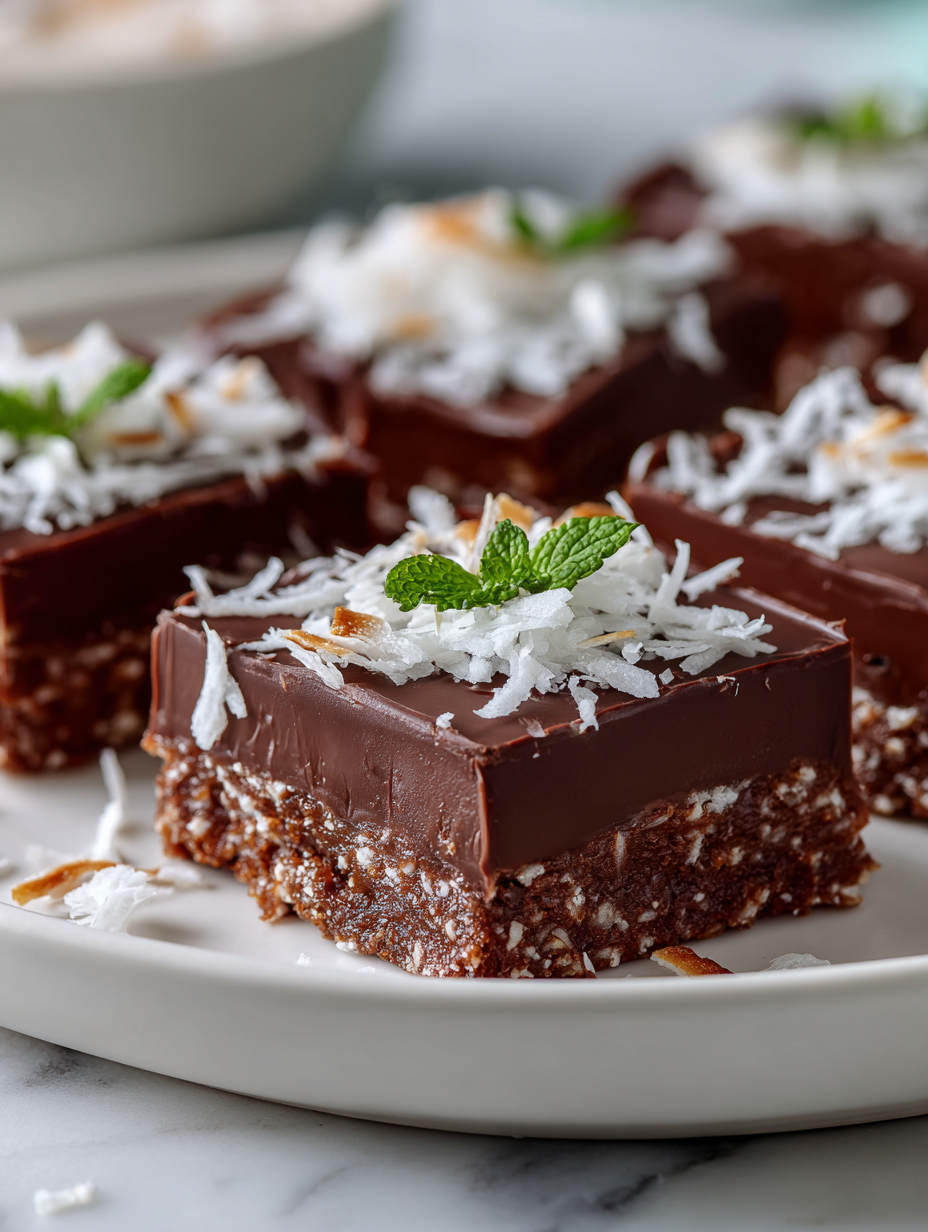
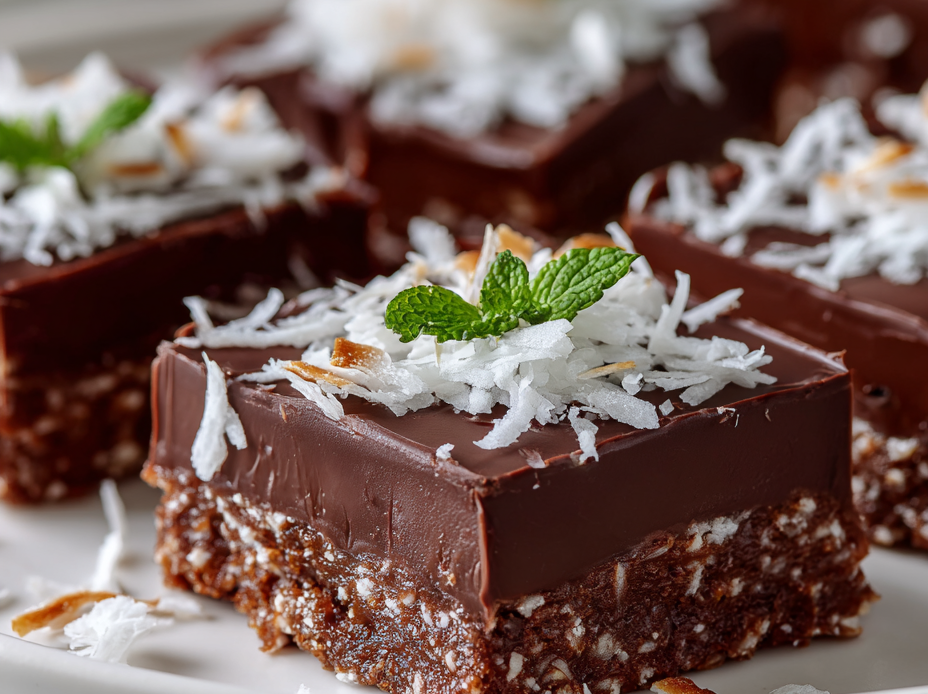
No-Bake Chocolate Coconut Bars
Ingredients
Equipment
Method
- Line your square pan with parchment paper, leaving overhang on the sides to lift out the bars easily later.
- In a medium bowl, combine the toasted shredded coconut, dark chocolate chips, and sea salt, mixing well to distribute everything evenly.
- In a small saucepan over low heat, melt the butter or coconut oil gently, listening for a soft bubbling sound, and stirring often until smooth and fragrant—about 3-4 minutes.
- Pour the sweetened condensed milk and vanilla extract into the melted butter, stirring continuously until the mixture is smooth, shiny, and well combined.
- Transfer the warm mixture into the bowl with the dry ingredients, folding gently with a spatula until everything is coated and sticky, about 2 minutes.
- Spoon the mixture into your prepared pan, pressing it down firmly with the back of a spatula or your fingers to create an even, compact layer.
- Optionally, sprinkle extra shredded coconut or chopped nuts on top, then press lightly to set the toppings into the surface.
- Place the pan in the refrigerator or freezer and chill for at least 2 hours until the mixture is firm and set.
- Once chilled, lift the set mixture out of the pan using the parchment overhang, and transfer to a cutting board.
- Use a sharp knife to cut the block into 12 even squares, wiping the blade clean between cuts for neat edges.
- Serve the bars chilled or at room temperature, enjoying their chewy texture and glossy chocolate finish.
Pro tips for perfect bars
- Chop and melt gradually: Use low heat to melt chocolate—this prevents seizing and keeps it glossy.
- Press firmly: When setting the mixture in the pan, apply even pressure to avoid crumbly bars.
- Use a warm spatula: Warming your spatula slightly helps smooth the surface and makes cutting easier.
- Chill completely: Let the bars rest in the fridge for at least 2 hours—rushing this step leads to sticky, soft bars.
- Wipe your knife: Keep a damp cloth nearby to wipe the blade between cuts for clean, professional edges.
- Add a topping: Sprinkle extra shredded coconut or sea salt on top before chilling for visual appeal and flavor contrast.
- Don’t overmix: Gently fold ingredients to keep texture intact—overworking can make the bars dense and tough.
Common mistakes and how to fix them
- FORGOT to line the pan → Use parchment for easy removal and clean cuts.
- DUMPED too much chocolate → Melt gradually, stir well, and avoid overheating.
- OVER-TORCHED the coconut → Toast on low heat, watch closely, and stir constantly.
- FAILED to chill enough → Chill at least 2 hours; under-chilled bars are too soft.
Quick fixes and pantry swaps
- If chocolate seizes → Splash warm coconut oil and stir gently until smooth.
- When bars are too soft → Patch by chilling longer or freezing for 15 minutes.
- Splash extra coconut flakes → Shake onto the top for added texture and visual pop.
- When mixture sticks to your hands → Shield with damp gloves for easier pressing.
- Dumped too much salt → Rescue with a drizzle of honey to balance flavors.
Make-Ahead and Storage Tips
- Preparing the mixture the night before allows the flavors to meld and makes assembly quicker the next day.
- Store the uncut, chilled bars in an airtight container in the fridge for up to a week; the cool keeps them firm and fresh.
- For longer storage, freeze the bars wrapped tightly in plastic wrap and stored in a zip-top bag for up to a month.
- Reheat slightly in the fridge for a softer bite or leave at room temperature for about 10 minutes before serving; the chocolate will soften beautifully, releasing a rich aroma.
Top questions about no bake bars
1. How do I cut the bars without them crumbling?
Use a sharp knife and wipe it clean between cuts for neat squares.
2. What’s the best way to set the bars quickly?
Chill the mixture for at least 2 hours, or freeze for 1 hour for firm bars.
3. How should I store these bars to keep them fresh?
Store in an airtight container in the fridge for up to a week, or freeze for longer.
4. Can I use milk chocolate instead of dark?
Use high-quality dark chocolate for a richer flavor and smoother melt.
5. Should I toast the coconut beforehand?
Toast the coconut slightly for a nutty aroma, but skip if you want softer texture.
6. Can I make these vegan or dairy-free?
Yes, you can swap condensed milk with coconut cream, but it may be less sticky.
7. How do I get the bars to set firmly?
Press mixture firmly into the pan to avoid crumbly bars and ensure they hold together.
8. Should I add salt to the mixture or just on top?
Add a pinch of sea salt on top before chilling for flavor contrast.
9. What do I do if my melted chocolate becomes lumpy?
If chocolate seizes, stir in a little warm coconut oil to smooth it out.
10. Can I make the mixture in advance?
Prepare the dry ingredients ahead of time for a quick assembly when ready.
These no bake chocolate coconut bars are a reminder that simple ingredients can create something both nostalgic and satisfying. They’re perfect for when you want a quick treat that tastes like a little celebration of childhood comfort. Plus, they’re versatile enough to adapt with whatever you have on hand, making them a go-to for spontaneous sweet cravings.
In the end, it’s about that moment of pulling a firm, glossy square from the fridge, breaking into it and catching that burst of chocolate and toasted coconut aroma. No matter the season or occasion, they offer a small, honest joy that’s easy to make and even easier to share.

Hi, I’m Madison Lane, the cook, recipe creator, and heart behind this kitchen. Food has been part of my life for as long as I can remember. Some of my earliest memories are of standing beside my dad while he cooked, watching him move comfortably around the kitchen, tasting sauces, and explaining why patience mattered just as much as seasoning.
