This no-bake fudge balls recipe takes me right back to those late-night kitchen sneaks as a kid, when I’d try to whip up something sweet without risking the oven. It’s a quiet thrill, feeling like a secret chef in my own home, using just simple, pantry-friendly ingredients. There’s something deeply satisfying about mixing, rolling, and tasting these little bites—no heat needed, just a handful of basic stuff that’s probably lurking in your cupboard.
What I love most is how flexible and forgiving it is. If you’re short on time or energy but craving that rich, chocolatey hit, these fudge balls come together in minutes. They’re perfect for a quick treat, a last-minute gift, or just a way to sneak some dessert into your day without any fuss or dirty dishes. Making them feels like a small act of rebellion, turning everyday ingredients into something special, quietly and simply.
This recipe is inspired by childhood memories of sneaking into the kitchen late at night, trying to whip up something sweet without turning on the oven. It’s about the thrill of making something delicious with no heat, just simple ingredients you probably already have. I love how these fudge balls bring back that quiet, secret joy—like a little treat you can make in your pajamas.
A Quiet Joy in No Heat
- I remember sneaking into my grandma’s kitchen to steal a bite of these fudge balls, their rich chocolate aroma filling the air and making me feel like a rebel.
- Making these feels like a quick escape—no oven, no mess, just pure, velvety chocolate melting on my tongue, calming the chaos of the day.
- There’s a quiet pride in whipping these up in minutes, especially on days when I need a sweet little victory without fuss.
- These fudge balls remind me of lazy Sunday afternoons, where simple ingredients could turn into tiny bites of happiness, no heat required.
The story behind this recipe
This recipe came from a night when I was craving something sweet but wanted to avoid turning on the oven. I was rummaging through my pantry, looking for a quick fix, and remembered how my grandma used to make these simple, no-bake treats during busy holiday seasons. The process of mixing chocolate, butter, and a few extras into tiny, bite-sized balls always felt like a secret reward—something I could whip up in minutes and feel a little bit indulgent without any fuss. Now, I keep these on hand for those moments when a quick, satisfying sweet fix is everything.
Historical & Cultural Tidbits
- These fudge balls likely originated from resourceful home cooks during wartime shortages, making use of minimal ingredients and no oven.
- The no-bake method became popular in the 20th century when busy families sought quick, satisfying treats without heating appliances.
- In some regions, similar recipes are called ‘energy bites’ or ‘date balls,’ emphasizing their role as quick, nourishing snacks.
- Historically, combining chocolate, butter, and sweeteners in no-heat recipes was a clever way to enjoy rich flavors during hot summer months.
Ingredient breakdown: key components
- Chocolate: I prefer a dark, slightly bitter chocolate—feels richer and melts smoothly, giving the fudge a deep, velvety bite. You can swap in semi-sweet if you like it milder.
- Butter: I stick to unsalted butter for a clean, creamy flavor. If you want a dairy-free version, coconut oil works but adds a tropical note and extra richness.
- Sweetener: I use honey for a subtle floral hint, but maple syrup is a good swap—just watch for a slightly stronger flavor that might influence the overall taste.
- Oats: Rolled oats give texture and chewiness. For a gluten-free version, make sure to choose certified gluten-free oats—they add a toasty aroma and satisfying heft.
- Flavor Add-ins: Nuts, dried fruits, or a pinch of sea salt can elevate these. I love a sprinkle of sea salt on top—brings out the chocolate intensity and adds a crunch.
- Cocoa Powder: Unsweetened cocoa is my go-to—deepens the chocolate flavor and gives a slight bitterness that balances the sweetness. Dutch-processed works well, too, for a smoother finish.
Spotlight on key ingredients
Chocolate:
- I prefer a dark, slightly bitter chocolate—feels richer and melts smoothly, giving the fudge a deep, velvety bite. You can swap in semi-sweet if you like it milder.
- Butter: I stick to unsalted butter for a clean, creamy flavor. If you want a dairy-free version, coconut oil works but adds a tropical note and extra richness.
Oats:
- Rolled oats give texture and chewiness. For a gluten-free version, make sure to choose certified gluten-free oats—they add a toasty aroma and satisfying heft.
- Sweetener: I use honey for a subtle floral hint, but maple syrup is a good swap—just watch for a slightly stronger flavor that might influence the overall taste.
Notes for ingredient swaps
- Dairy-Free: Swap butter for coconut oil or vegan margarine. It changes the richness slightly but keeps the texture smooth.
- Sweetener Variations: Use maple syrup or agave instead of honey. They add different flavor nuances but maintain sweetness.
- Chocolate Types: Dark chocolate is my favorite for depth, but semi-sweet or milk chocolate can soften the intensity.
- Oats: Rolled oats are best for texture, but quick oats can work if you’re in a hurry—they’ll make the mixture softer.
- Add-ins: Nuts, dried fruits, or coconut flakes can be mixed in or sprinkled on top. Feel free to customize for crunch or extra flavor.
- Cocoa Powder: Unsweetened is classic, but Dutch-processed gives a smoother, less bitter finish. Adjust sweetness accordingly.
Equipment & Tools
- Microwave-safe bowl: To melt chocolate and butter quickly and evenly.
- Measuring spoons and cups: To ensure precise ingredient quantities.
- Parchment paper: To prevent sticking and make cleanup easier.
- Mixing spoon or spatula: To combine ingredients smoothly.
- Baking sheet or tray: To hold the formed fudge balls as they set.
- Cooling rack (optional): For even cooling and easy removal.
Step-by-step guide to fudge balls
- Gather your ingredients: chocolate, butter, honey, rolled oats, cocoa powder, and any add-ins. Measure everything out to streamline the process.
- Prepare your workspace: line a baking sheet with parchment paper and have a mixing bowl ready. No heat needed, so keep things cool and clean.
- Melt the chocolate and butter: place in a microwave-safe bowl, heat in 20-second bursts, stirring between each, until smooth. (About 1-2 minutes total.)
- Add honey: pour in and stir until fully combined, creating a glossy, velvety mixture that smells rich and sweet.
- Stir in cocoa powder: sift over the melting mixture to avoid lumps, blending until smooth and deeply chocolatey.
- Fold in oats: mix until you get a thick, cohesive dough that holds together when pressed. If it’s too sticky, chill for 10 minutes.
- Form into balls: scoop about a tablespoon of dough, roll between palms into smooth spheres, about 1 inch diameter. Place on prepared sheet.
- Chill to set: refrigerate uncovered for at least 30 minutes. The mixture will firm up, and flavors will meld—smell the rich chocolate deepen.
- Optional: roll in crushed nuts or cocoa powder for extra texture and visual appeal.
- Serve: these fudge balls are best straight from the fridge, with a firm bite and a melt-in-your-mouth richness.
Refrigerate the fudge balls uncovered for at least 30 minutes until firm. Serve straight from the fridge or store in an airtight container. For best texture, let sit at room temperature for 5 minutes before eating.
How to Know It’s Done
- Chocolate mixture should be glossy and smooth, with no lumps or graininess.
- Dough should be firm enough to roll without sticking excessively to your hands.
- When chilled, balls should hold their shape and feel slightly firm but yield to pressure.
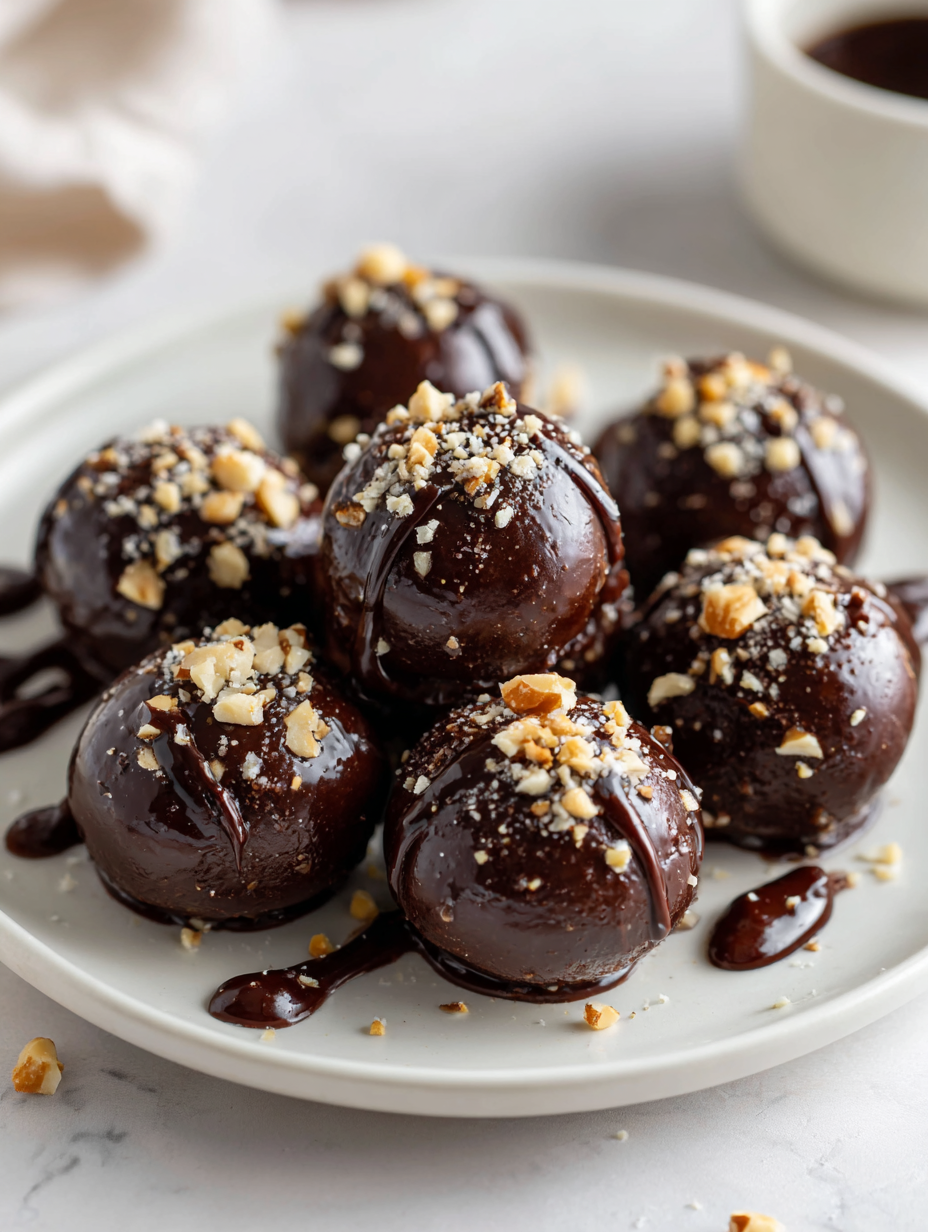
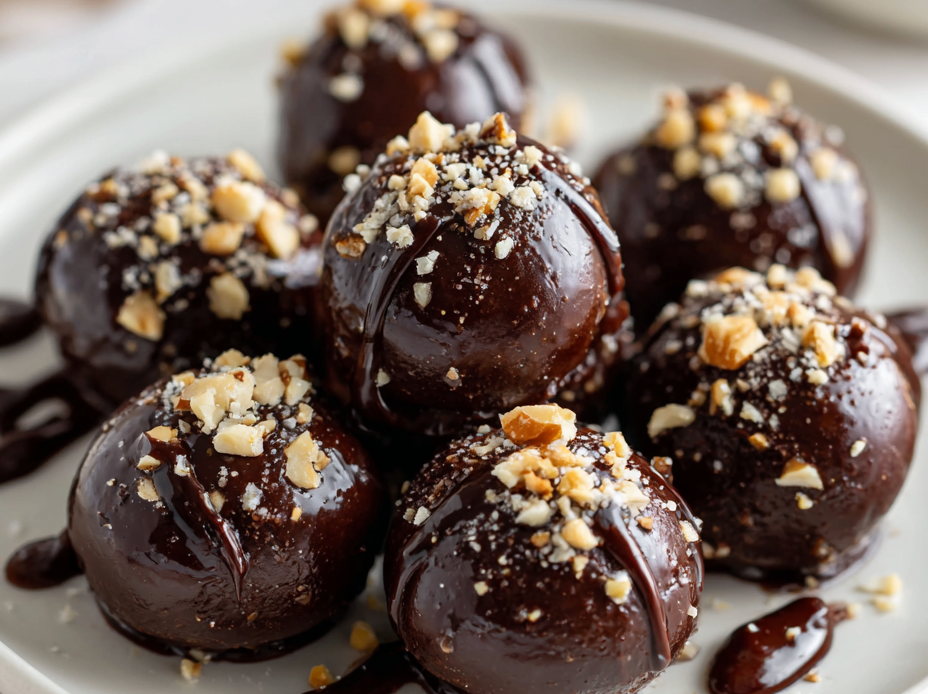
No-Bake Chocolate Fudge Balls
Ingredients
Equipment
Method
- Place the dark chocolate and butter in a microwave-safe bowl. Microwave in 20-second bursts, stirring in between, until the mixture is smooth and glossy with no lumps. The chocolate should be fully melted and fragrant.
- Pour in the honey and stir well until the mixture is shiny and evenly combined, filling your kitchen with a rich, sweet aroma.
- Sift the cocoa powder over the melted mixture to prevent lumps, then fold it in gently with a spatula until the mixture is smooth and dark.
- Add the rolled oats to the chocolate mixture and stir until everything is evenly coated and forms a thick, cohesive dough. It should hold together when pressed.
- Chill the mixture in the fridge for about 10 minutes to make it easier to handle and shape.
- Once chilled, scoop about a tablespoon of dough and roll it between your palms into a smooth ball, approximately 1 inch in diameter. Place each ball on a parchment-lined baking sheet.
- Repeat until all the mixture is used up, then sprinkle a tiny pinch of sea salt on top of each ball for a touch of contrast.
- Refrigerate the fudge balls for at least 30 minutes until they're firm and set. This helps develop their chewy, melt-in-your-mouth texture.
- Once chilled, serve these rich, chocolatey bites straight from the fridge. For a glossy finish, you can briefly dip them in melted chocolate again and refrigerate.
Pro tips for perfect fudge balls
- Bolded mini-head: Chill the dough slightly before rolling to prevent sticking and ensure smooth shaping.
- Bolded mini-head: Use a light hand when melting chocolate—short bursts in the microwave keep it glossy and smooth.
- Bolded mini-head: Sift cocoa powder to avoid lumps and achieve a velvety chocolate texture throughout.
- Bolded mini-head: For softer balls, slightly warm your hands before rolling—helps keep the mixture from cracking.
- Bolded mini-head: Add a pinch of sea salt on top after forming—enhances the chocolate flavor and creates a delightful crunch.
- Bolded mini-head: If the mixture feels too dry, a tiny splash of milk or coconut milk can bring it together without changing flavor.
- Bolded mini-head: For extra shine, briefly dip finished balls in melted chocolate and refrigerate before serving.
Common mistakes and how to fix them
- FORGOT to chill the mixture → Chill for at least 30 minutes if too sticky.
- DUMPED in all ingredients at once → Mix gradually to prevent lumps and uneven texture.
- OVER-TORCHED the chocolate → Melt in short bursts, stir well, and remove before fully melted.
- SKIPPED the parchment paper → Use parchment to prevent sticking and easy cleanup.
Quick fixes and pantry swaps
- When mixture is too sticky → Splash in a bit more oats and chill for 10 minutes.
- If balls crack while rolling → Patch with a tiny bit of melted chocolate and reshape.
- DUMPED in too much salt → Shield with a quick rinse, then reseason lightly.
- Over-melted chocolate → Rescue by stirring in a teaspoon of coconut oil for gloss and smoothness.
- When smell of burnt chocolate → Swap for fresh chocolate, and ensure gentle melting next time.
Prep, store, and reheat tips
- You can prepare the mixture a day ahead; keep it covered in the fridge to let flavors meld and the texture firm up, making rolling easier later.
- Store the fudge balls in an airtight container in the fridge for up to one week. The cold keeps them firm and preserves that rich chocolate aroma.
- For longer storage, freeze the balls for up to a month. Wrap individually in plastic wrap and thaw in the fridge before serving, where they’ll soften slightly and intensify in flavor.
- Refrigerated fudge balls are best enjoyed chilled but can be let sit at room temperature for 5 minutes prior to eating for a softer, more melt-in-your-mouth texture. The aroma of chocolate will deepen as they warm slightly.
Top questions about fudge balls
1. What should the texture of the fudge balls be?
Creamy, melt-in-your-mouth texture with a rich chocolate flavor. The mixture is smooth, slightly sticky, and firm enough to roll into balls.
2. Can I change the type of chocolate used?
Use dark chocolate for a deep flavor, or semi-sweet if you prefer milder. Adjust sweetness by adding more or less honey.
3. How do I know when the mixture is ready to roll?
Chill the mixture for at least 30 minutes until firm. The balls should hold their shape and feel slightly firm but yield to pressure.
4. Can I substitute the honey?
Yes, you can swap honey for maple syrup or agave nectar. They will alter the flavor slightly but keep the sweetness.
5. How long do fudge balls last?
Store in an airtight container in the fridge for up to a week. For longer, freeze for up to a month, wrapped individually.
6. What if the mixture is too sticky or dry?
If mixture is too sticky, add a little more oats or chill for 10 minutes. If too dry, a splash of milk helps.
7. How should I melt the chocolate?
Use a microwave-safe bowl and melt in short bursts, stirring often. Be careful not to overheat the chocolate.
8. How big should the fudge balls be?
Form the balls about 1 inch in diameter, rolling between palms for a smooth surface. Chill before serving for best shape.
9. Can I customize the fudge balls?
Add nuts, dried fruits, or sea salt for extra flavor. Roll in cocoa or crushed nuts for added texture.
10. Can I prepare these in advance?
Yes, these are great for making ahead. Keep refrigerated and bring to room temp for a softer bite before serving.
These fudge balls are more than just a quick treat; they’re a reminder that simple ingredients can create something unexpectedly satisfying. In moments when I need a little sweetness, a handful of these often does the trick, melting on my tongue with that rich, velvety chocolate flavor.
They’re perfect for spontaneous cravings or last-minute gatherings, and I love how forgiving they are—no oven, no fuss, just good old-fashioned comfort in every bite. Sometimes, the best recipes are the ones you can whip up in minutes and still feel proud of.

Hi, I’m Madison Lane, the cook, recipe creator, and heart behind this kitchen. Food has been part of my life for as long as I can remember. Some of my earliest memories are of standing beside my dad while he cooked, watching him move comfortably around the kitchen, tasting sauces, and explaining why patience mattered just as much as seasoning.
