This no bake coffee cheesecake is my go-to when I want something indulgent but quick. It’s like a caffeine-fueled hug, creamy and rich with that unmistakable coffee punch. No oven, no fuss—just chill and enjoy the bold aroma of coffee in every bite.
I stumbled on this recipe during a chaotic weekend when I needed dessert, fast. The best part? It’s surprisingly simple but feels fancy enough to serve to guests or keep for myself. It’s become my secret weapon for last-minute gatherings or those mornings when coffee alone just isn’t enough.
This recipe is inspired by those mornings when you need a caffeine kick that also satisfies your sweet tooth, but you’re not in the mood to turn on the stove or wait for a traditional bake. It’s about making a rich, creamy cheesecake that’s all about the coffee punch, whipped up in no time, perfect for lazy weekends or last-minute dessert cravings. I love how it combines the comforting familiarity of cheesecake with the bold, awakening aroma of fresh coffee, all without any oven fuss.
Coffee’s Unexpected Cheesecake Twist
- I love how the coffee aroma instantly energizes the kitchen, making the whole house smell like a waking dream.
- There’s a quiet pride in pulling off a dessert that looks fancy but took hardly any effort at all.
- Sometimes, I just crave that deep, bitter coffee hit balanced with creamy sweetness—this recipe hits that spot.
- This cheesecake reminds me of lazy Sunday mornings, where a slice with strong coffee feels like the perfect start.
- I get a little thrill knowing I can whip this up when friends drop by unexpectedly, no oven needed.
The story behind this recipe
- This recipe took shape during a morning when I desperately needed a caffeine boost but didn’t want to turn on the oven. The idea of a no-bake cheesecake flavored intensely with coffee came from those quiet moments when a simple, satisfying treat feels just right. It’s become my little ritual—mix, chill, and wake up with each bite.
- The inspiration came from a stubborn leftover espresso shot and a craving for something creamy and bold. I wanted a dessert that could stand up to that bitter, smoky aroma of strong coffee, but still be smooth and indulgent. It’s a slow, satisfying process—layering flavors and textures that surprise even me, every time I make it.
- heading: ‘Coffee’s Unexpected Cheesecake Twist’
Coffee Cheesecake Trivia
- This recipe originated from a late-night craving for coffee-flavored dessert that required no oven and minimal fuss.
- It’s inspired by classic no-bake cheesecakes from the 1970s, but with a bold coffee twist that’s more modern and energetic.
- The use of instant coffee and cream cheese became popular in home kitchens during the mid-20th century as quick dessert solutions.
Key Ingredients Breakdown
- Coffee: I use a strong brewed coffee or espresso for that intense, aromatic punch. You can tweak the strength depending on how bold you want the flavor to be.
- Cream Cheese: It’s the creamy backbone of this cheesecake, so opt for softened, full-fat cream cheese. If you want a lighter version, try mascarpone, but it’ll soften the richness.
- Sweetener: I prefer powdered sugar for smooth mixing, but honey or maple syrup can add a subtle caramel note. Adjust sweetness to taste; I like it just barely sweetened.
- Graham Cracker Crust: I crush my graham crackers finely, then mix with melted butter until it’s crumbly but holds together. For a nuttier flavor, toss in crushed pecans or almonds.
- Gelatin (optional): If you want a firmer set, dissolve a teaspoon of gelatin in a bit of hot water before mixing. Skip if you prefer a softer, more mousse-like texture.
- Whipped Cream: I fold in lightly whipped heavy cream for a silky, airy texture. Be gentle—overmixing can deflate that lovely fluff.
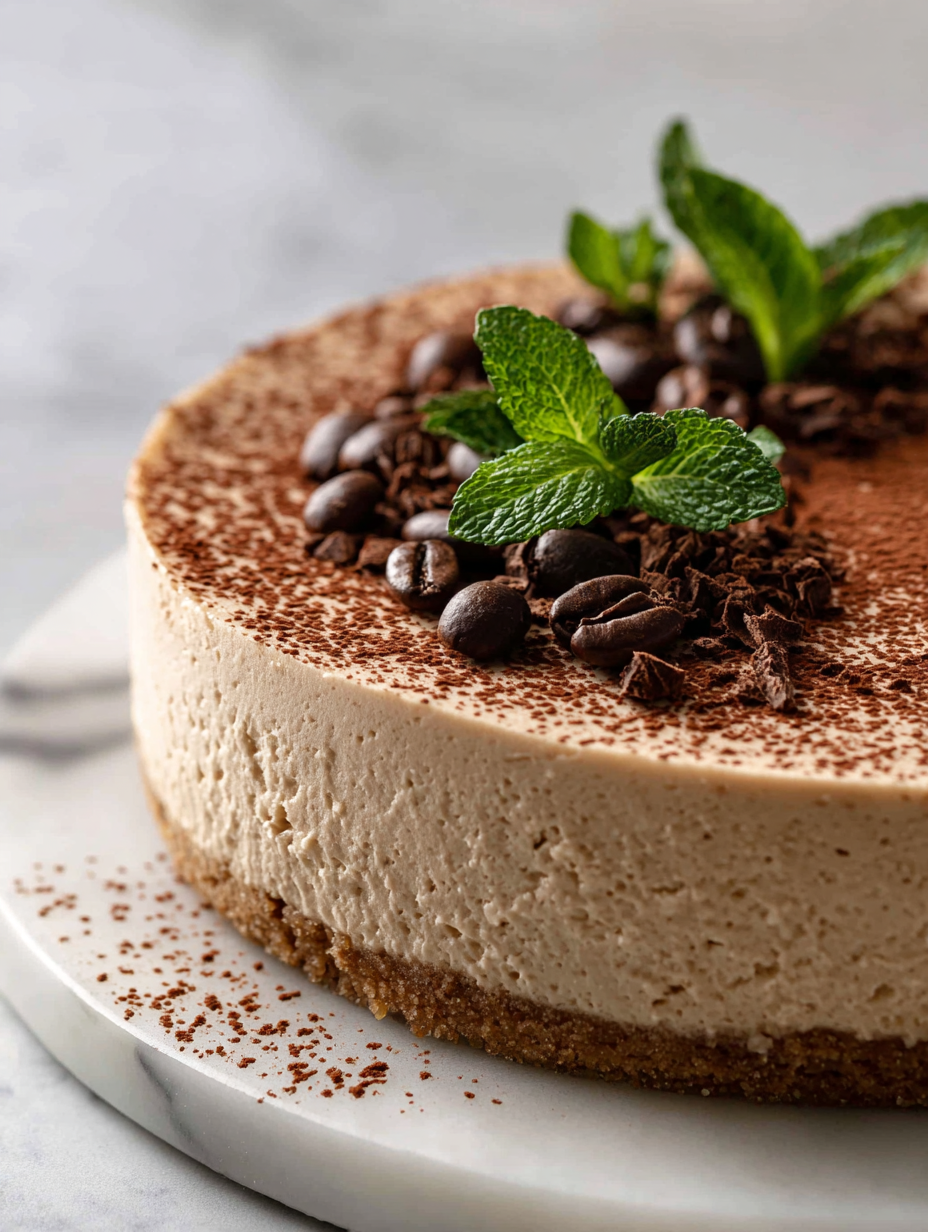
- Chocolate or Coffee Garnish: I like a dusting of cocoa powder or a few coffee beans on top for a finishing touch. It adds aroma and visual appeal, making every slice look tempting.
Spotlight on key ingredients
Coffee:
- I use a strong brewed espresso for that rich, aromatic punch. It creates an intense, wake-up aroma that fills the kitchen.
- Cream Cheese: Its velvety texture melts smoothly into the mixture, giving the cheesecake its signature creamy consistency. Slight tanginess balances the coffee notes.
Whipped Cream:
- Gelatin: Dissolving it properly ensures a silky, firm set without lumps. It’s a little magic that holds the cheesecake together.
- Folding in softly whipped cream adds airiness and lightness, contrasting the dense coffee flavor and making each bite melt.
Notes for ingredient swaps
- Coffee: I use a strong brewed espresso for boldness. You can swap with instant coffee granules, but adjust the amount for intensity.
- Cream Cheese: Full-fat cream cheese is best for richness. For a lighter option, try ricotta—less tangy, softer texture.
- Sweetener: Powdered sugar blends smoothly, but honey or maple syrup work if you prefer a richer, more caramel flavor—reduce the liquid slightly.
- Graham Crackers: Digestive biscuits are a good substitute, offering a similar buttery crunch. For a nutty twist, add crushed pecans or almonds.
- Gelatin (optional): To avoid gelatin, use agar-agar or a ripe, slightly softened banana for some firmness, but texture will change.
- Whipped Cream: Heavy cream is ideal, but coconut cream can add a tropical note. Chill and whip until fluffy for best volume.
- Garnish: Cocoa powder is classic, but a dusting of finely ground coffee or a few chocolate shavings can add visual and aroma appeal.
Equipment & Tools
- Springform pan: Holds the crust and filling, easy to remove the cheesecake.
- Mixing bowls: Combine and beat the ingredients smoothly.
- Spatula: Fold whipped cream into the mixture gently.
- Saucepan: Dissolve gelatin or heat ingredients if needed.
- Whisk: Mix ingredients thoroughly, incorporate air.
Step-by-step Guide to No Bake Coffee Cheesecake
- Equipment & Tools: Prepare a 9-inch (23 cm) springform pan, a mixing bowl, a spatula, a small saucepan, and a whisk. The pan is for setting the cheesecake, the bowl and whisk for mixing, and the saucepan for dissolving gelatin if used.
- Make the crust: Crush 200g of graham crackers finely — I do this in a ziplock with a rolling pin. Mix with 100g melted butter until evenly coated. Press into the bottom of your springform pan, smoothing out to an even layer. Chill in the fridge for 15 minutes while you prepare the filling.
- Brew strong coffee: About 1 cup (240ml) of hot, freshly brewed espresso or very strong coffee. Let it cool slightly, so it doesn’t melt the cream cheese when added.
- Beat the cream cheese: In a large bowl, soften 16 oz (450g) of cream cheese with a spatula or hand mixer on low until smooth. Add ½ cup powdered sugar, and beat until light and fluffy, about 2-3 minutes. Smell for that rich, slightly tangy aroma of cream cheese.
- Dissolve gelatin (optional): If you want a firmer cheesecake, sprinkle 1 teaspoon gelatin over 2 tablespoons hot water in a small saucepan. Stir until fully dissolved and no lumps. Let cool slightly but keep it liquid.
- Incorporate coffee and gelatin: Pour the cooled coffee into the cream cheese mixture gradually, mixing on low. If using gelatin, add it now, stirring well to combine. The mixture should look glossy and dark with a strong coffee aroma.
- Whip heavy cream: In a separate bowl, whip 1 cup heavy cream until soft peaks form. Gently fold the whipped cream into the coffee-cream cheese mixture, using a spatula. Be gentle—look for a light, airy texture that jiggles slightly when moved.
- Assemble the cheesecake: Pour the filling over the chilled crust. Smooth the top with a spatula. Cover loosely with plastic wrap and refrigerate for at least 4 hours, preferably overnight. It should set with a slight wobble but hold its shape.
- Resting & Finishing: Once set, remove from fridge, run a knife around the edges to loosen, then carefully release the springform. Garnish with a dusting of cocoa powder or a few coffee beans. Slice and serve chilled, enjoying the deep, aromatic coffee flavor with creamy richness.
- Checkpoints & How to Know It’s Done: The surface should be firm and matte, not shiny or runny. The edges will slightly pull away from the pan. The texture should be smooth and jiggle slightly in the center when gently moved. The aroma should be intensely coffee-forward, not burnt or muted. When a toothpick inserted in the center comes out clean, it’s ready.
Chill the cheesecake in the fridge for at least 4 hours or overnight. Before serving, run a knife around the edges, release the springform, and garnish as desired. Slice with a warm knife for clean cuts. Serve straight from the fridge, enjoying the firm, aromatic coffee flavor and creamy texture.
How to Know It’s Done
- Cheesecake surface is matte and firm, not shiny or sticky.
- Edges gently pull away from pan sides.
- Center jiggles slightly but holds shape when tapped.
No Bake Coffee Cheesecake
Ingredients
Equipment
Method
- Start by crushing the graham crackers into fine crumbs using a ziplock bag and rolling pin. Mix the crumbs with melted butter until evenly coated, then press this mixture into the bottom of your springform pan, smoothing it out with the back of a spoon. Chill the crust in the fridge for 15 minutes to set.
- Meanwhile, brew a cup of strong coffee or espresso and let it cool slightly. This will give your cheesecake that rich, aromatic coffee flavor.
- In a large mixing bowl, beat the softened cream cheese with a spatula or mixer on low speed until smooth and fluffy, about 2-3 minutes. Add the powdered sugar and continue to beat until well combined and slightly airy.
- If you want a firmer cheesecake, dissolve the teaspoon of gelatin in two tablespoons of hot water in a small saucepan, stirring until completely dissolved. Let it cool until just warm, then pour into the cream cheese mixture, mixing thoroughly to incorporate.
- Gradually pour the cooled coffee into the cream cheese mixture while mixing on low. The mixture will turn a dark, glossy coffee color and smell intensely aromatic. Fold in the liquid until fully combined.
- In a separate chilled bowl, whip the heavy cream until soft peaks form—this means it will hold gentle peaks when you lift the whisk. Be careful not to overwhip; it should be fluffy and light.
- Gently fold the whipped cream into the coffee-cream cheese mixture using a spatula. Do this slowly to keep the mixture airy and light, making sure everything is well combined but not deflated.
- Pour the smooth filling over the chilled crust, spreading it evenly with a spatula. Cover loosely with plastic wrap and place in the fridge to set for at least 4 hours, preferably overnight.
- Once set, run a warm knife around the edges of the springform pan to loosen, then carefully remove the sides. Garnish the top with a dusting of cocoa powder or some coffee beans for a beautiful finishing touch. Slice with a warm knife for clean cuts and serve chilled for the best flavor and texture.
Pro tips for perfect coffee cheesecake
- Use finely crushed graham crackers for a compact crust that presses evenly without cracks.
- Dissolve gelatin fully in hot water before adding to prevent lumps and ensure a smooth set.
- Chill your coffee until just warm, not hot, to avoid melting the cream cheese during mixing.
- Gently fold whipped cream into the coffee mixture to keep the cheesecake light and airy.
- Use a warm knife to slice for clean, smooth edges without tearing into the creamy filling.
- Adjust the coffee strength based on your preference—more for a punchy flavor, less for subtlety.
- Let the cheesecake sit at room temperature for 10 minutes before serving to soften the texture slightly.
Common mistakes and how to fix them
- FORGOT to chill the crust before adding filling → Chill crust 15 minutes for better set.
- DUMPED in hot coffee without cooling → Always cool coffee slightly before mixing to prevent curdling.
- OVER-TORCHED the edges during mixing → Mix just until ingredients are combined; avoid overmixing to prevent heat buildup.
- SKIPPED the gelatin when firmness was needed → Dissolve gelatin properly if a firmer texture is desired.
Quick fixes and pantry swaps
- When the mixture looks too runny, splash in a touch more crushed graham crackers to thicken.
- If the coffee smell is weak, patch it with a shot of espresso powder for a bolder aroma.
- Splash cold water on the pan edges if the crust starts to crack during pressing.
- When the cheesecake cracks, shield it with a dusting of cocoa powder or coffee grounds to hide imperfections.
- DUMPED in too much gelatin? Rescue by adding a little more whipped cream and folding gently for extra fluff.
Prep, store, and reheat tips
- Prepare the crust ahead by crushing graham crackers and pressing into the pan. Chill for 15 minutes to help it set better.
- You can make the filling up to 24 hours in advance. Keep it covered in the fridge to preserve the coffee aroma and freshness.
- Store the assembled cheesecake in the fridge for up to 2 days. The flavors deepen slightly, with a richer coffee aroma over time.
- Reheat slices briefly in the microwave—about 10 seconds—until just warm. The texture should remain creamy, not rubbery.
- For best flavor, serve chilled but not icy. The aroma of coffee and the smooth texture are at their peak when slightly softened.
Top questions about no bake coffee cheesecake
1. Can I use instant coffee instead of brewed espresso?
Use a strong brewed espresso or dark roast for the most intense coffee flavor. Instant coffee can work, but adjust the amount for a richer punch.
2. Can I swap cream cheese with something else?
Yes, you can substitute cream cheese with mascarpone for extra richness, or ricotta for a softer, lighter texture. Just keep in mind the flavor will change slightly.
3. How do I know when it’s fully set?
Chill the cheesecake for at least 4 hours, ideally overnight. It should jiggle slightly in the center and be firm around the edges.
4. Can I make this without gelatin?
If you want a firmer texture, dissolve a teaspoon of gelatin in hot water before mixing it into the coffee. Skip if you prefer a mousse-like feel.
5. Can I substitute graham crackers?
Use crushed digestive biscuits as a substitute for graham crackers if you want a slightly different flavor profile. Keep the butter ratio the same.
6. How do I keep the whipped cream from deflating?
Whip the heavy cream until soft peaks form, then gently fold it into the mixture. Overwhipping or overmixing can deflate the airy texture.
7. How long can I keep the cheesecake in the fridge?
Store leftovers covered in the fridge for up to 2 days. The flavor and aroma deepen, but the texture remains creamy and smooth.
8. How should I slice and serve it?
To serve, slice with a warm knife for clean edges. Reheat slices briefly if you prefer a softer, slightly warmed taste.
9. My crust is crumbly—what do I do?
If the crust crumbles, press it more firmly into the pan and chill it before adding the filling to help it set better.
10. The filling is too soft—how do I fix it?
When the mixture is too runny, sprinkle in a little extra crushed graham crackers or add more whipped cream to thicken.
This cheesecake isn’t just about the coffee kick, it’s about the simplicity of pulling something satisfying together without turning on the oven. It’s a reminder that sometimes, the best desserts are the easiest, especially when they carry a little personal twist in each bite.
Whenever I make this, I think about the mornings when coffee is the only thing that gets me going—and now I get to enjoy that same bold, comforting aroma in a creamy, no-fuss dessert. It’s a small way to make everyday moments feel a bit more special, even on the busiest days.

Hi, I’m Madison Lane, the cook, recipe creator, and heart behind this kitchen. Food has been part of my life for as long as I can remember. Some of my earliest memories are of standing beside my dad while he cooked, watching him move comfortably around the kitchen, tasting sauces, and explaining why patience mattered just as much as seasoning.
